SENSE/Multus
Follow these steps to provision an L2 path using SENSE and Multus.
Step 1: Create the SENSE path:
Login into the orchestrator’s online portal at sense-o or sense-o-dev (Credentials provided by ESnet).
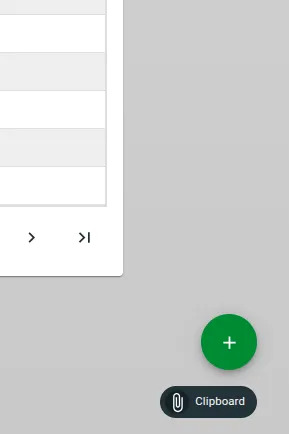
Create a new instance from the ”+” button in the bottom right corner.
Select the service profile you want. (These will be provided and already populated by the ESnet SENSE Team).
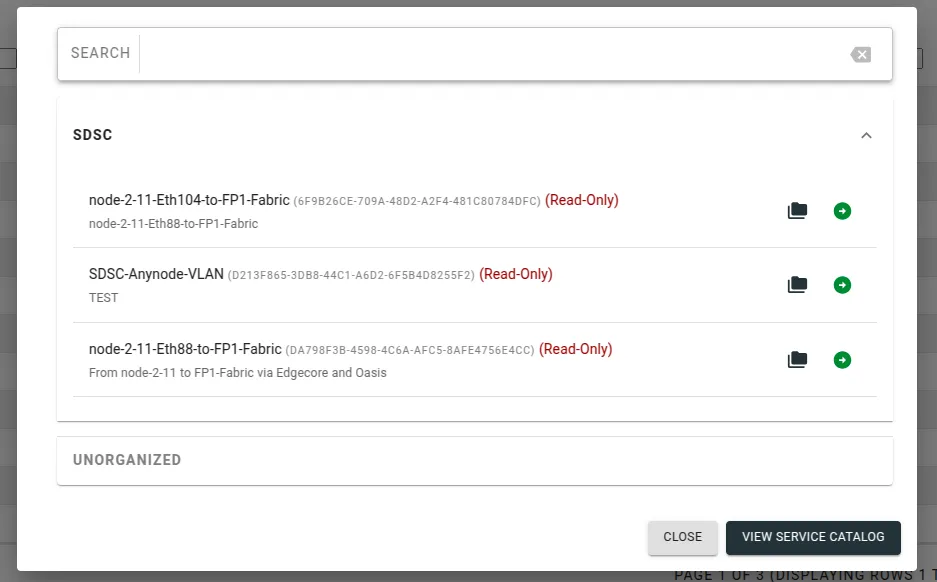
Fill in the fields specifying the configuration for the L2 path you want. (You can view and search for URIs in the Visualization tab).
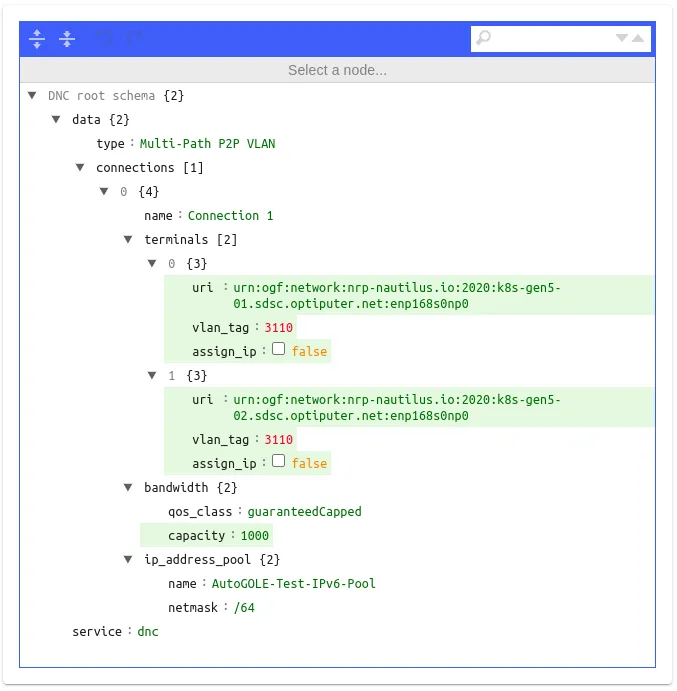
uri: The node’s Uniform Resource Identifier. Can be looked up in search. Will contain the NRP node name and corresponding NIC interface in the name. Example: urn:ogf:network:nrp-nautilus.io:2020:node-2-7.sdsc.optiputer.net:enp65s0f1np1.
assign_ip: Whether or not the orchestrator should assign IPs.
vlan_tag: Can be any VLAN that doesn’t already have a path on it. If the user specifies any, the orchestrator will pick an available VLAN tag.
bandwidth.capacity: QoS bandwidth and not an upper cap.
Specify an alias for the instance (name).

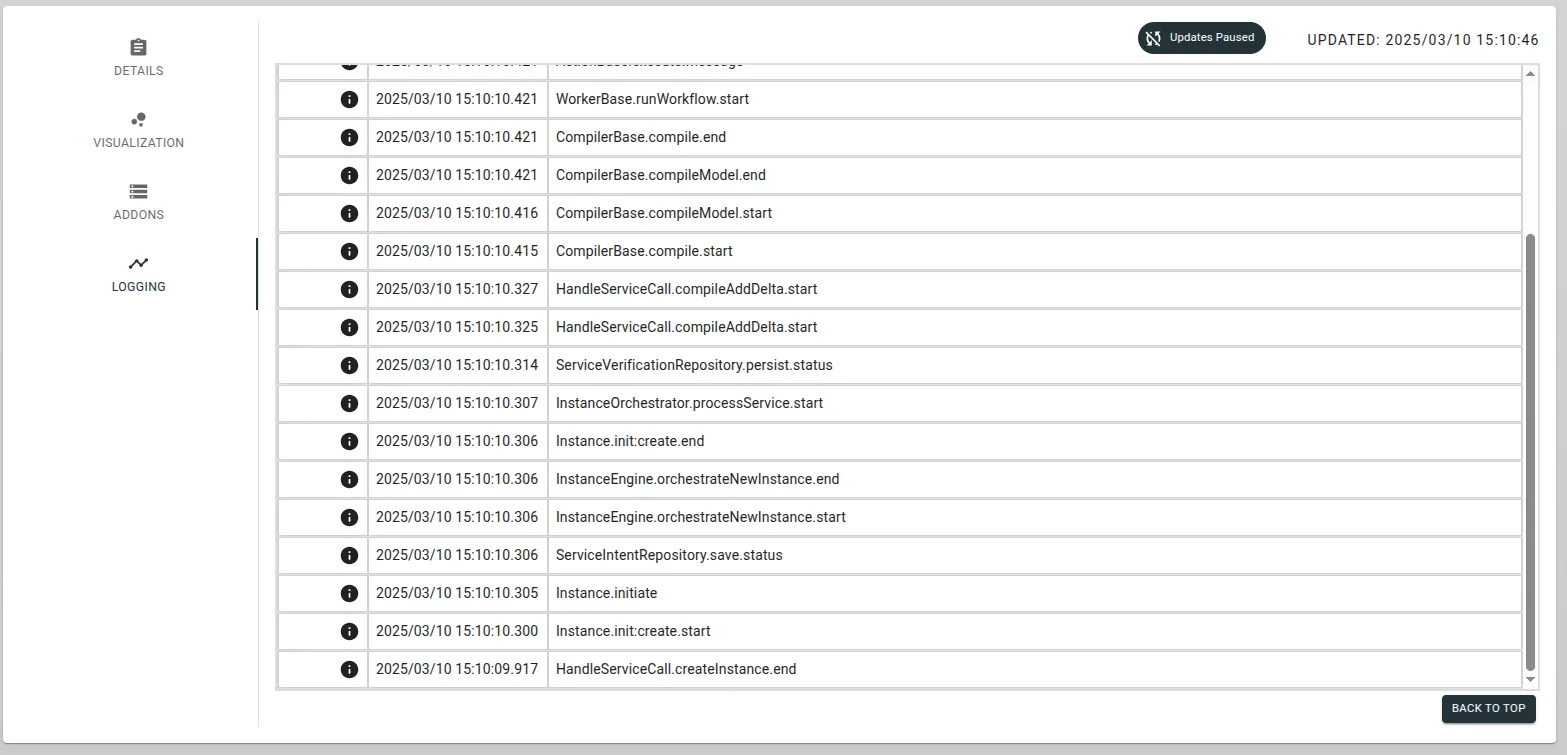
You can view the status (failure/success) and logs after hitting submit.
Step 1A (Extra): Using the API
You can also acheieve the same results using the sense-o-api, or the sense-o-py-client.
A detailed step-by-step guide on using the Python client can be found here.
Step 2: Configure the Node
You will see the interface(s) show up on the node(s) specified in the URI(s). Example:
nautilus@node-2-7:~$ ifconfig | grep -i vlanvlan.3110: flags=4163<UP,BROADCAST,RUNNING,MULTICAST> mtu 9000vlan.3110-ifb: flags=195<UP,BROADCAST,RUNNING,NOARP> mtu 1500No further configuration on the node is necessary.
Step 3: Create a Multus NetworkAttachmentDefinition
Define a Multus NetworkAttachmentDefinition using the MACVLAN interface. Save the following YAML as network.yaml:
apiVersion: "k8s.cni.cncf.io/v1"kind: NetworkAttachmentDefinitionmetadata: name: macvlan-network namespace: <namespace>spec: config: '{ "cniVersion": "0.3.1", "type": "macvlan", "master": "vlan.3110", "mode": "bridge", "ipam": { "type": "host-local", "subnet": "192.168.1.0/24", "rangeStart": "192.168.1.1", "rangeEnd": "192.168.1.50" } }'Apply it:
kubectl apply -f network.yamlStep 4: Create a Pod
Deploy a pod using the network. Save the following YAML as pod.yaml:
apiVersion: v1kind: Podmetadata: name: macvlan-pod namespace: <namespace> annotations: k8s.v1.cni.cncf.io/networks: macvlan-networkspec: containers: - name: test-container image: alpine command: ["sh", "-c", "sleep 3600"] resources: limits: memory: "256Mi" cpu: "500m" requests: memory: "128Mi" cpu: "250m"Apply it:
kubectl apply -f pod.yamlStep 5: Verify Connectivity
- Exec into the pod:
kubectl exec -it macvlan-pod -n <namespace> -- sh- Test connectivity using
ping,iperfor other tools.